How to get the Police Station symbol keys in The Outlast Trials
Read here to learn how to obtain the Police Station symbol keys in The Outlast Trials, needed to complete the 'Kill The Snitch' task and lift all three grates.
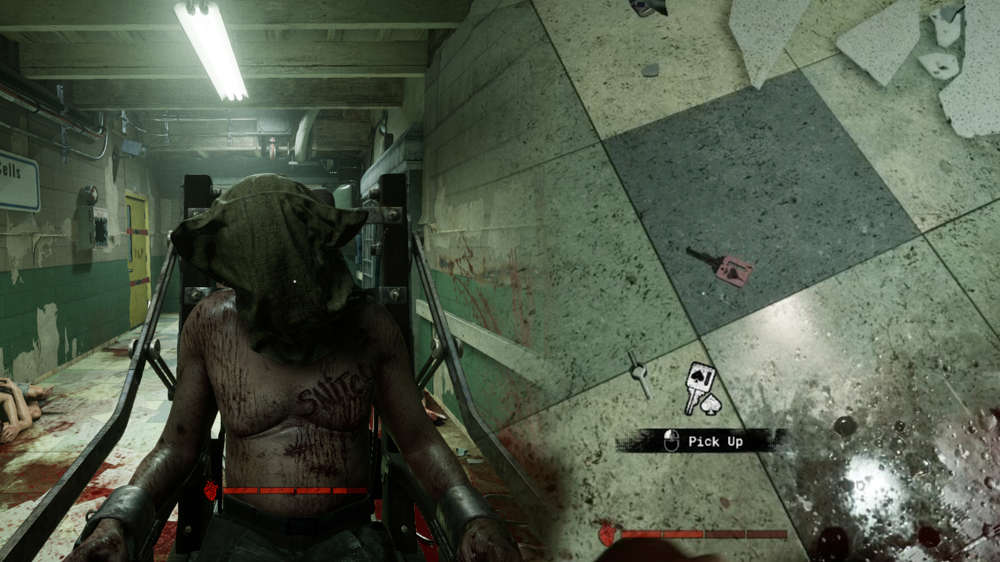
During the 'Kill The Snitch' mission in The Outlast Trials, you'll need to find three keys with different symbols on them to get the Snitch to the end of the station.
Although you'll receive clues as to which symbols you'll need in the game, the map is littered with different keys which can get confusing with the amount of enemies patrolling the area. For tips on how to get all Police Station symbol keys you need, we've got you covered.
Where are the Police Station symbol keys?
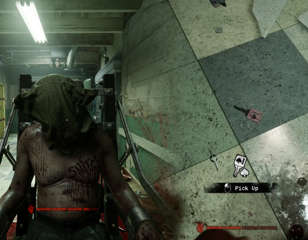
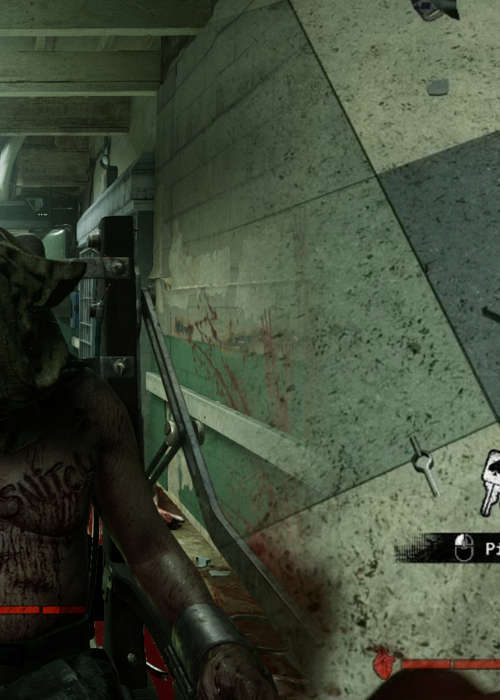
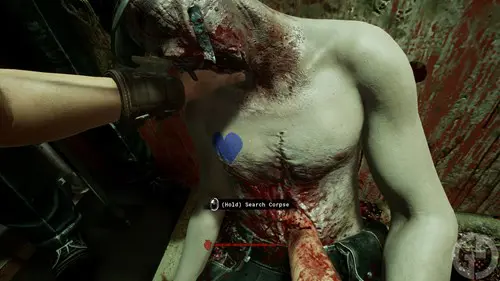
To get through the various locked gates with The Snitch, you'll need to collect the symbol keys from around the Police Station, where they are located inside of dead bodies.
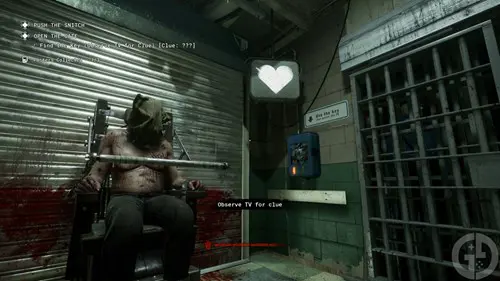
Each grate requires a completely different key to be unlocked. You may notice at each locked grate there will be a TV monitor. These monitors will display the symbol of the key you need to unlock it.
To complete this stage of the task you need to investigate the surrounding bodies, each body will be painted with a blue symbol to represent the shape of the key inside them.
The symbols will change every time you re-start the trial, so it is impossible to pinpoint which bodies you should target. Rather, make sure you note down the symbols displayed on each monitor and search for the corresponding bodies to search.
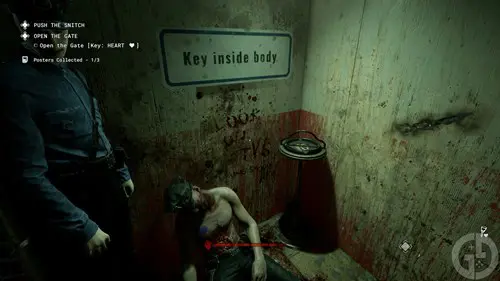
The first body will always be located through the doorway immediately left of the first grate.
There are also dummy keys in various bodies that will take some of your health if interacted with. This means you'll need to make sure you follow the clues and get the correct keys.
How to get the Police Station symbol keys
Although the symbols are randomised each time, there are a few tips that can help as you progress through the trial:
- Although the Snitch needs to be pushed on the linear track, you can get through to all sections of the station without the grates needing to be lifted via the interconnecting doors and shortcuts
- It may make it easier for you if you travel to each grate and note down all three symbols first, so you can find the keys all at once
- There will be a main enemy within each section as well as frequent gas enemy spawns, so make sure you have some antidote on hand in case you get sprayed
- Bodies containing keys do not spawn in the street area but are also not limited to the inside of the station, there is a back alleyway which sometimes contains bodies to search
- Make sure you also check the Warden's office as this is a somewhat missable area from the records section and can also contain a key
- If you are chased through the station and lose track of where you have already searched, the game will mark unsearched bodies for you on the screen with a question mark until you investigate which symbol they have
- Once you have all the keys, you'll need to unlock each grate and roll the Snitch forward. If you let go of him, he will slowly start to roll backwards and remove your progress. At each grate, he will click onto the track creating a checkpoint where he won't roll back from
- Patrolling enemies will hear you roll the cart and will chase you as you progress. A solid strategy is using throwable items like bricks and bottles to distract enemies for a time as you roll the Snitch forward.
Check out our The Outlast Trials homepage for more guides. Make sure you also look at how to unlock outfits, how to unlock Rigs, how to use Amps, and how to use Prescriptions.

About The Author
Kiera Mills
Kiera is a former GGRecon Guides Writer.
